Kitchen Remodeling
Designing a Kitchen Layout Around Daily Rituals in Washington DC
By
Amber Niewald
The way a kitchen is lit shapes how you move through it. In DC homes, where kitchens carry a lot of daily weight, lighting is one of the most considered decisions a designer and homeowner make together.
Most kitchens rely on a single overhead fixture, and homeowners often feel the difference without quite knowing how to name it. The room is functional, but something about it never fully settles.
Understanding how to layer lighting in a room is usually where that changes. This idea connects to our recent piece, Designing DC Kitchens Around Daily Rituals, because a well-designed kitchen is about how every choice in the space supports the way you actually live in it.
Layered lighting simply means using three different kinds of light together to create a perfect balance:
Knowing the types of kitchen lighting helps you move away from a single bulb and create a space that feels right for every part of your day.
So, how do you know to layer lighting in a room effectively? Start by thinking about how you use your kitchen.
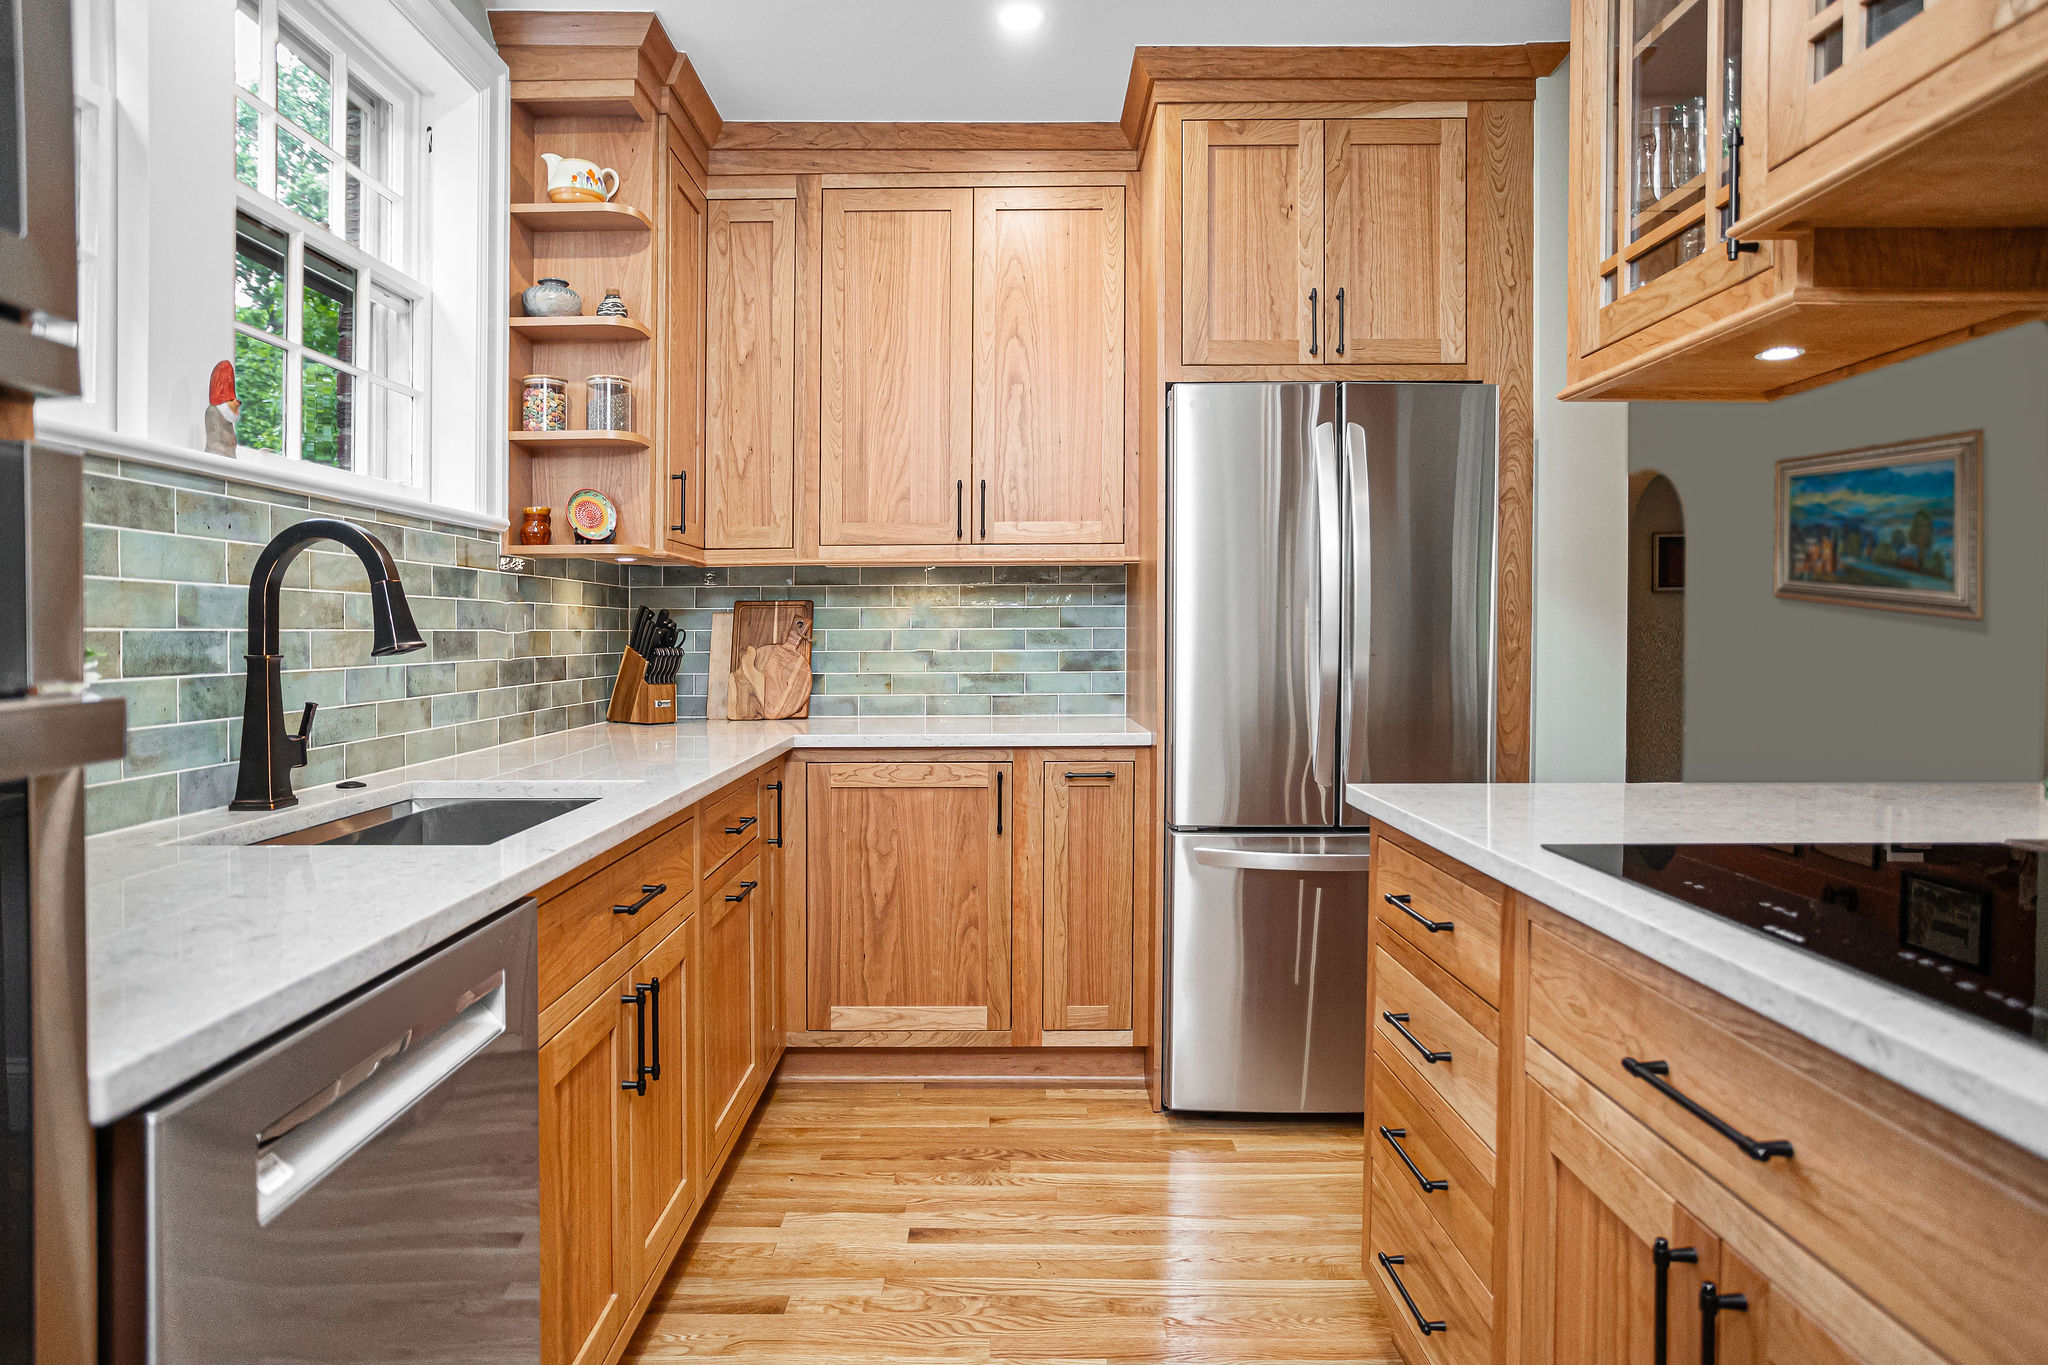
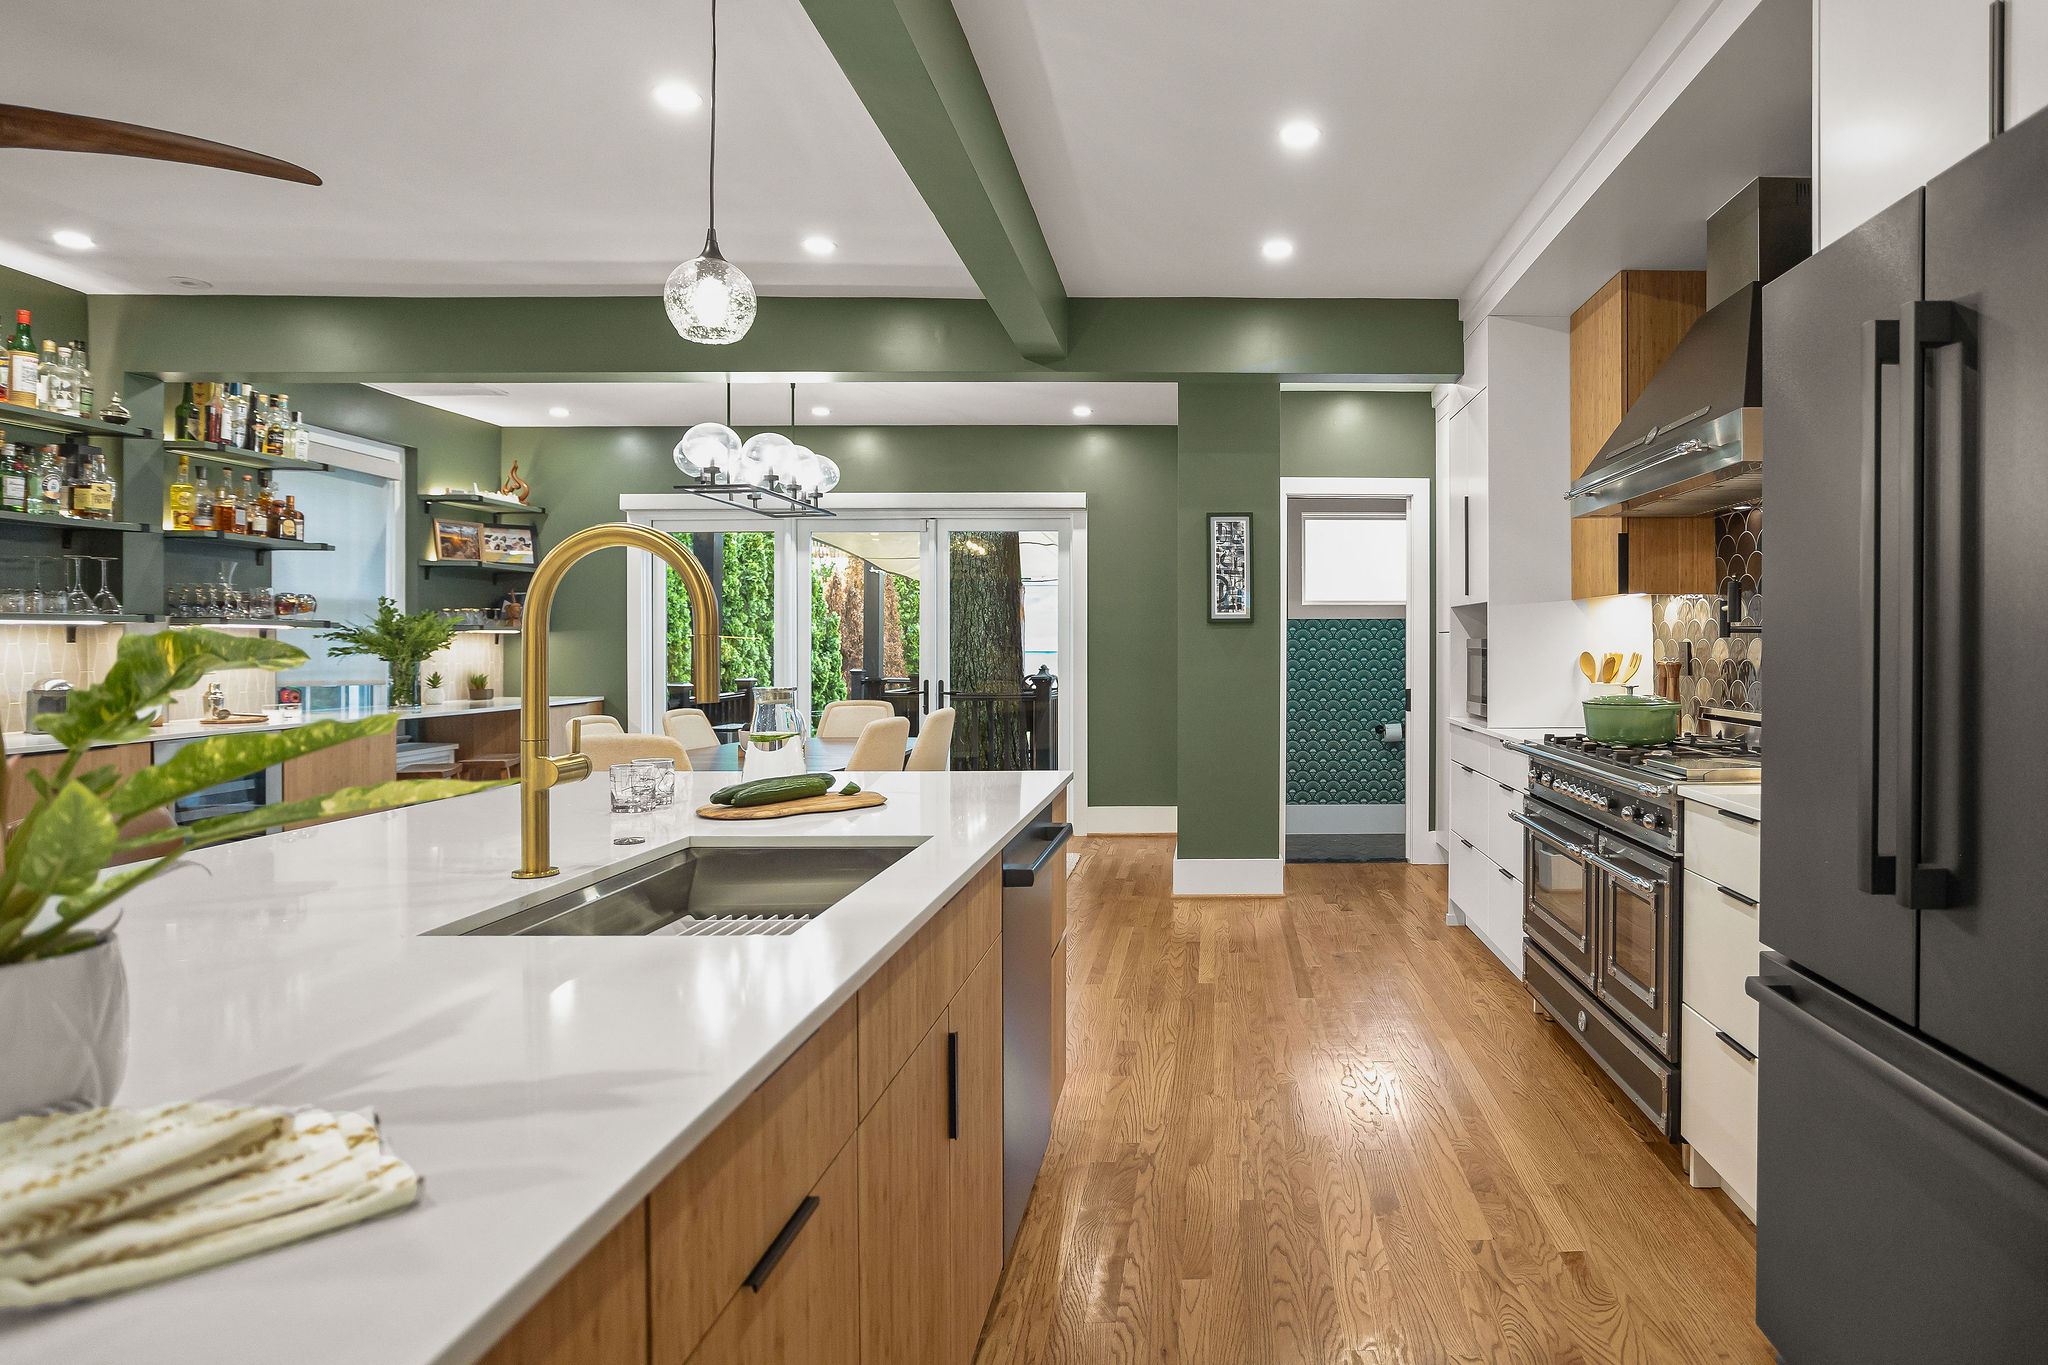
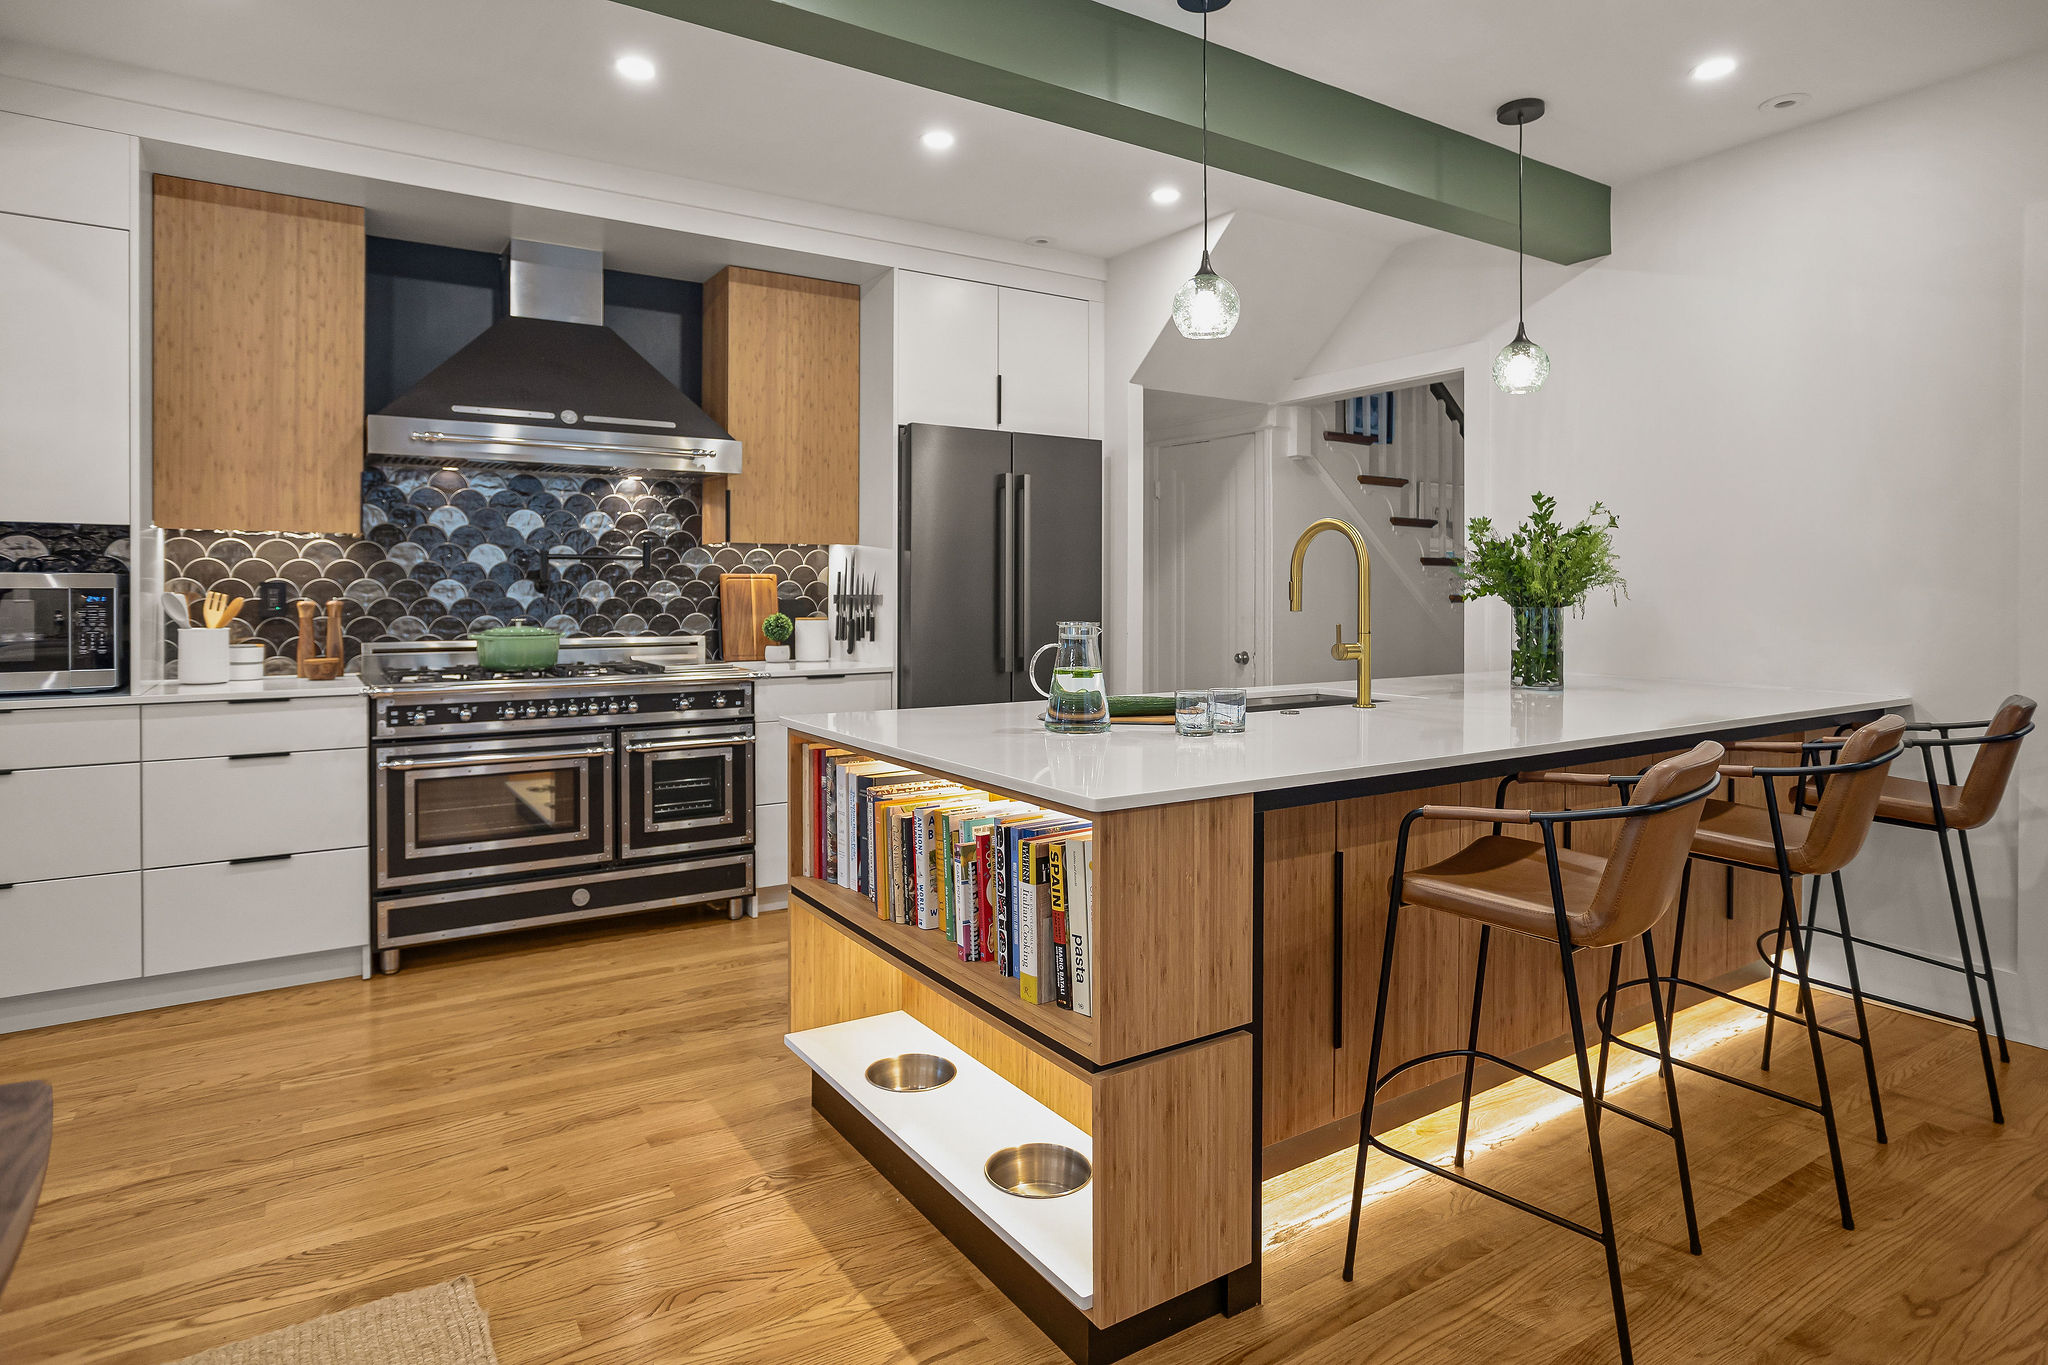
Your main light should be soft enough to walk around safely but bright enough to see the whole room. In many DC kitchen layouts for families, recessed LED lights are a great choice and give clean light without looking messy on the ceiling.
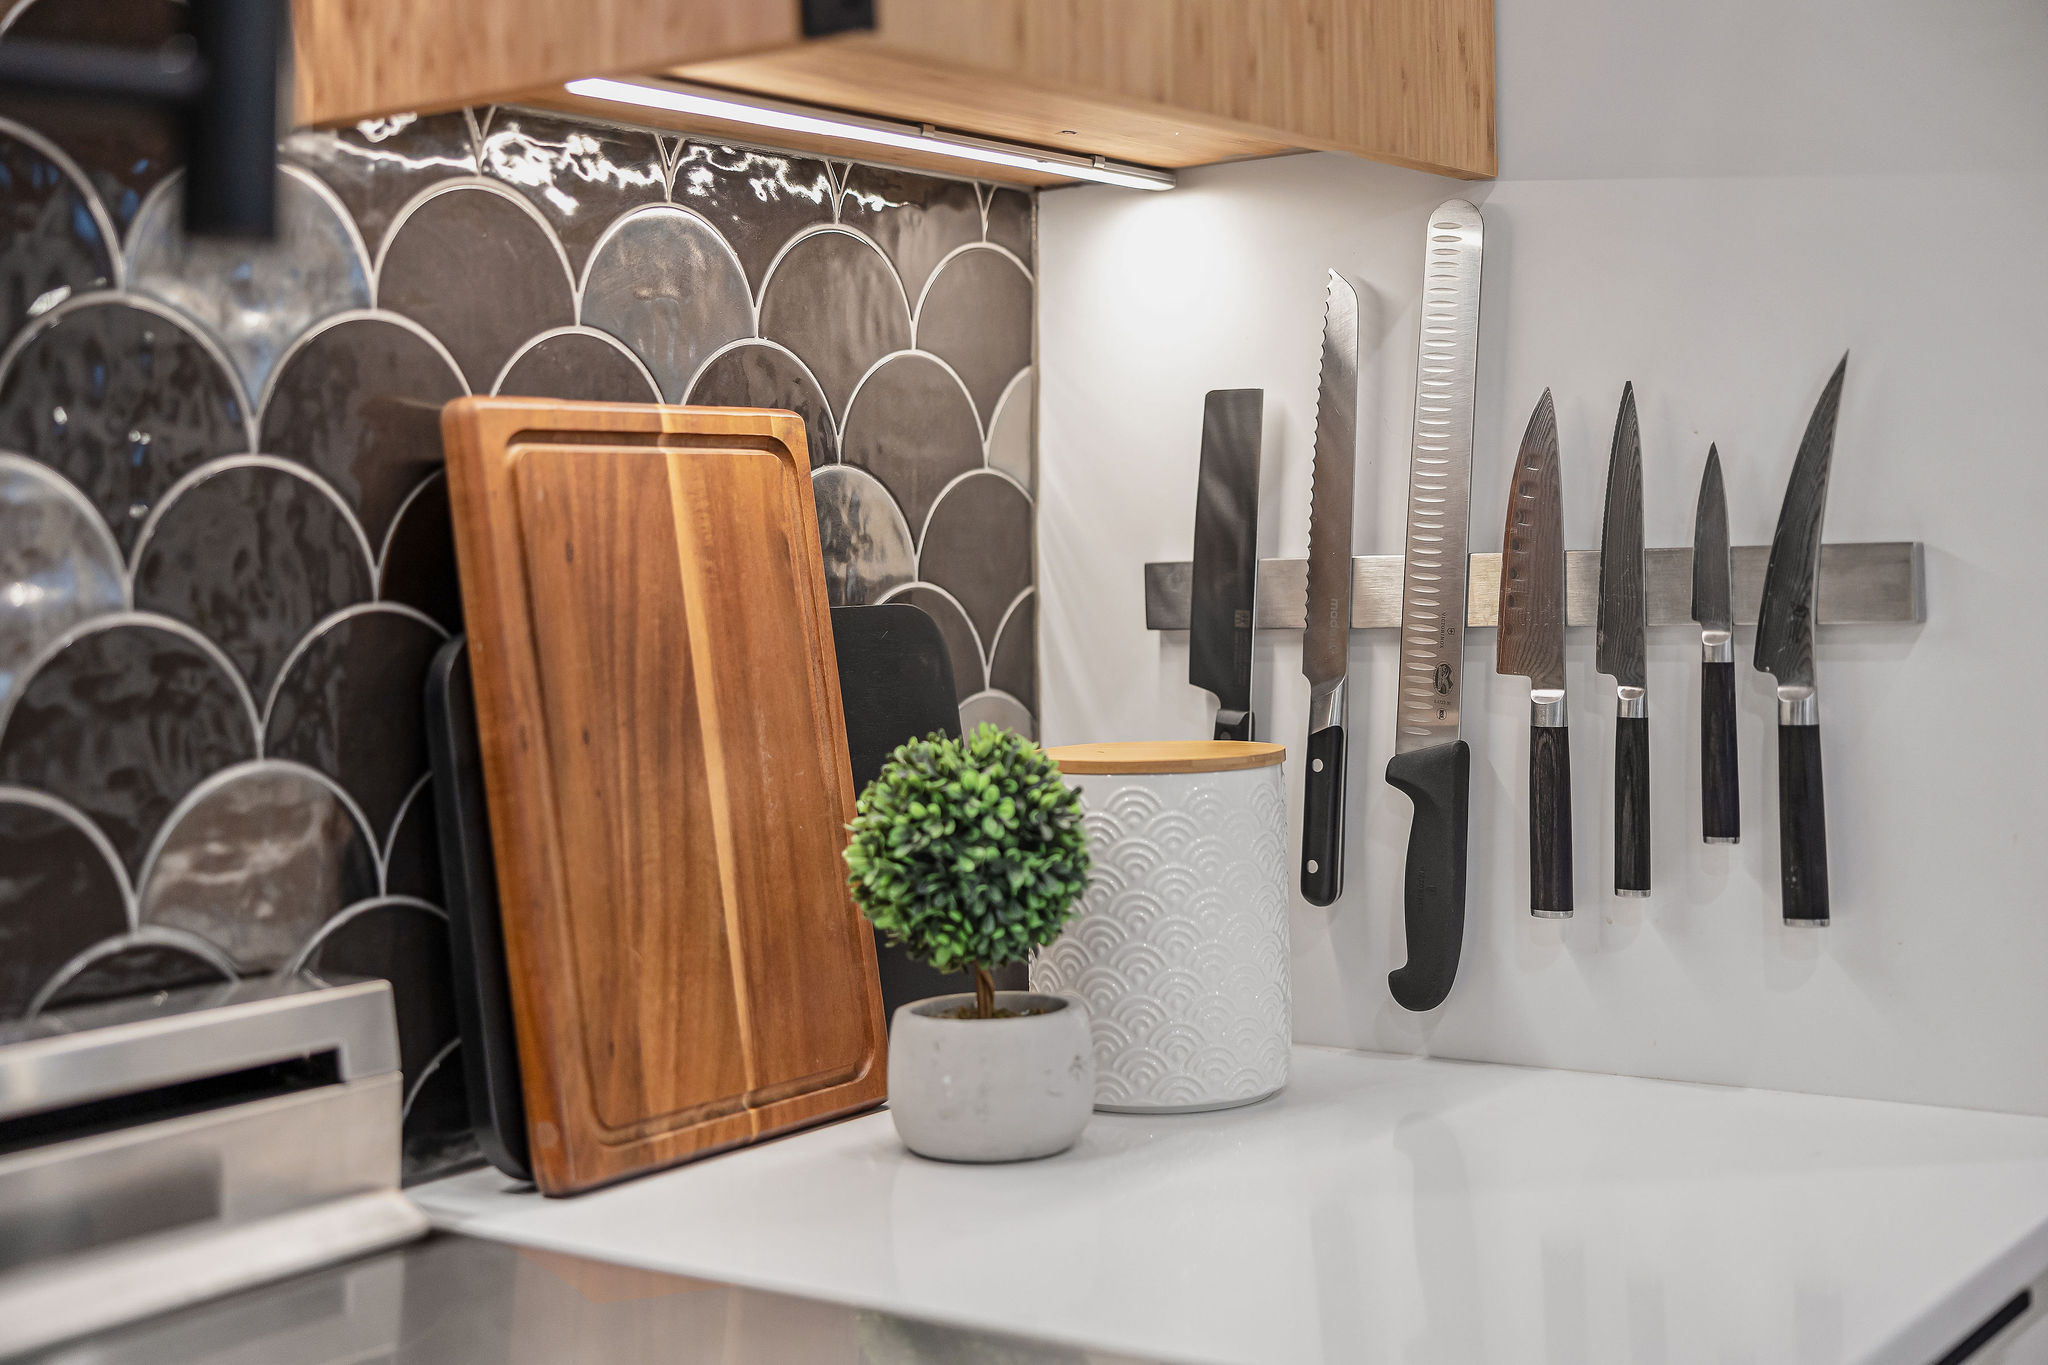
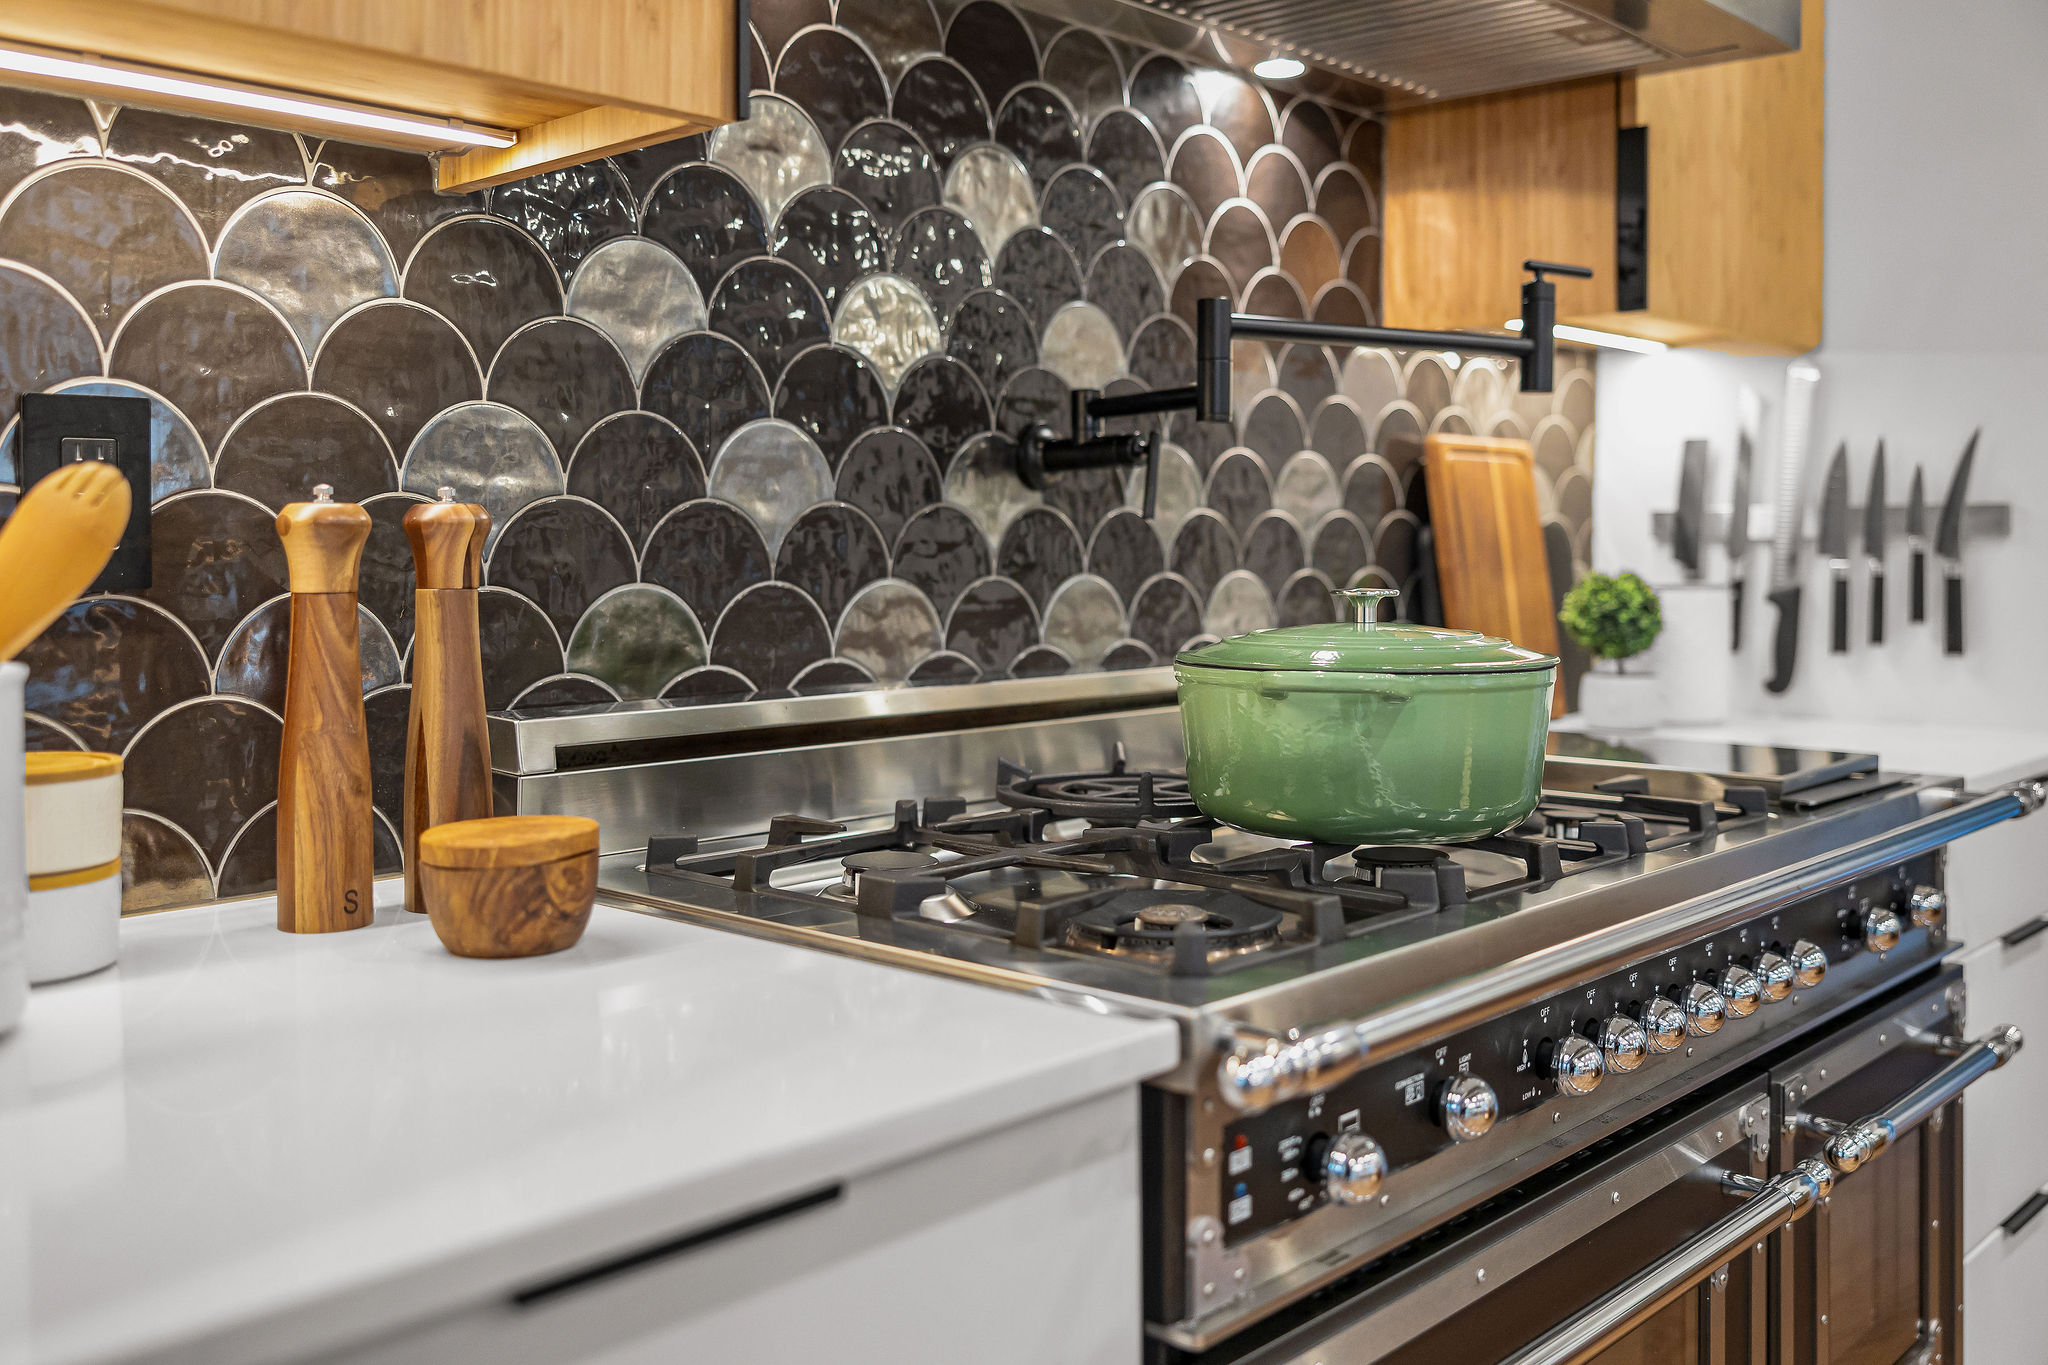
This is where function meets style. Kitchen lighting ideas over sink are very important. A nice pendant light or a strip of light ensures you can see clearly while washing dishes or prepping food. Also, don’t forget under-cabinet lights. They shine directly on your counters, removing shadows so you can chop and mix safely.
To add warmth and style, add some decorative touches. Modern kitchen lighting ideas often include stylish pendant lights over the island. These act like jewelry for your room, drawing the eye and adding personality. Using dimmer switches is key here, so you can lower the lights for a romantic dinner or a quiet night in.
When designing for DC homes, your kitchen lighting design ideas should match the style of your neighborhood.
Many homeowners ask, "What is the best lighting for a kitchen?" The answer isn't a single, perfect fixture. Instead, the best solution is a thoughtful combination of all three layers working together.
Adjustable: You can dim it for dinner or brighten it for cooking.
True-to-color: It shows food colors accurately so everything looks fresh.
Balanced: It combines ambient, task, and accent lights to cover every corner.
When you focus on kitchen lighting design that prioritizes these three elements, you create a space that is not only beautiful but also perfectly suited to how your family lives.
Lighting decisions are made during design, not after. Where each fixture goes depends on what is above the ceiling, how deep your cabinets are, and how the room is laid out. When your designer and builder are working from the same plan at the same time, those details are worked out together before anything is ordered or installed.
Calm by design, our process provides clarity and structure throughout your renovation. You make the decisions; we guide the experience.
We start with a 30-minute call to understand your goals and confirm we're a fit. If it feels right, we schedule an on-site visit to walk your space, take measurements, and explore what's possible within your budget.
Your designer guides you through two phases, schematic layout and detailed finish selections, with your budget and how your family lives at the forefront of every decision. All elements are considered together, not assembled separately.

%201.avif)


.avif)
